

Quickly test tower tweaks directly in this build view. Changes are not saved.
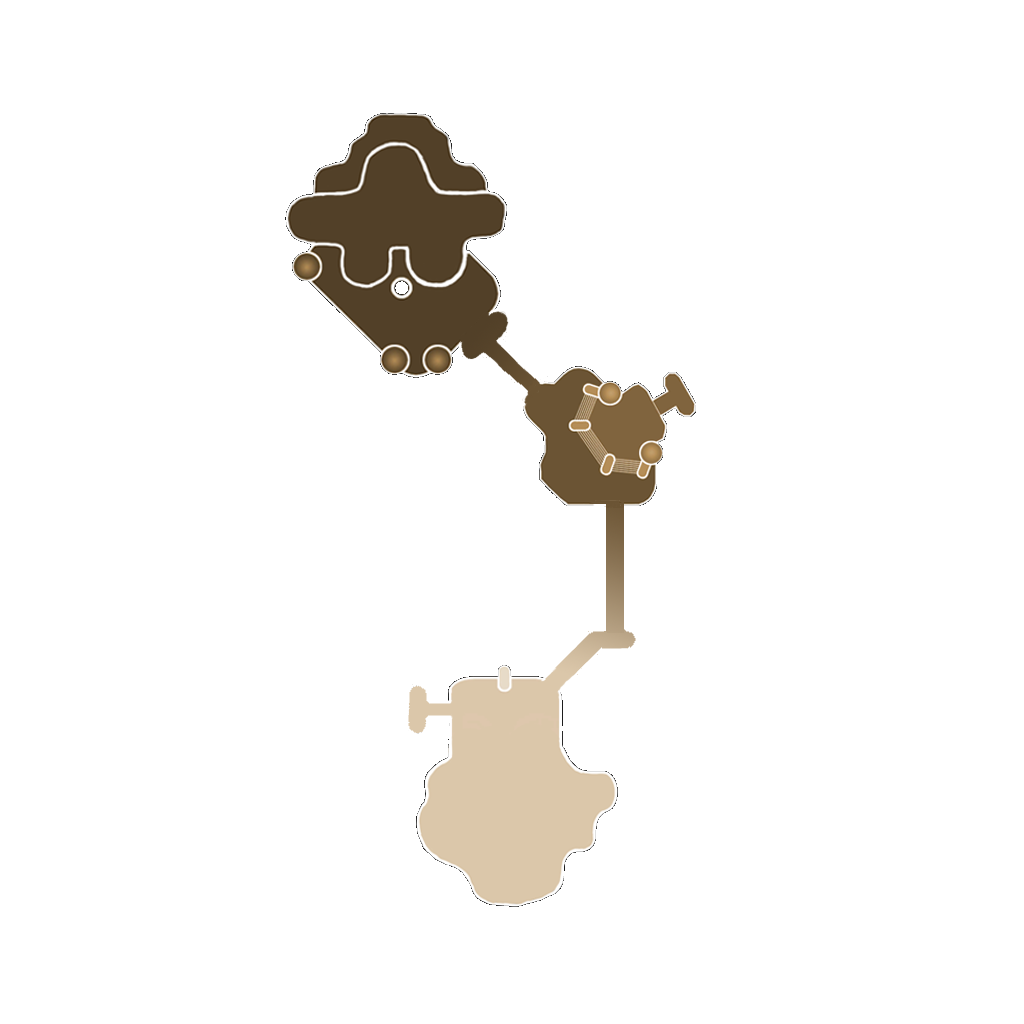
Click on a numbered hint marker on the map to zoom and highlight nearby towers. Double click on map to reset zoom.
No hint selected.
Highlight placed towers (Chrome limitation applies)


Build Status: Public
Difficulty: Ruthless
Game Mode: Campaign
Hardcore: Yes
AFK Able: No
Mana Used: 0
Mana to Upgrade: 0
More Builds from Stiyl
Construction order - first Buildphase
- First, place the auras; 2 in the south, 2 in the center, and 2 in the north - on top of the statue (jump down from above)
- Second, jump back onto the statue directly to the north and drag the BuffBeam down from the head to the back, making it as wide as possible (still 4DU!). Then toward the center: BuffBeam (4DU) and 2 Reflect Beams (1DU each), and then toward the south: BuffBeam and Reflect Beams again, as shown
- Third, directly to the south, the Warden Towers marked with Note 1; watch the direction of the Cloud Towers (blue arrows)! For the north construction location, see the image below.
- Fourth, place 1 pylon at each tower stack, 1 golem in the center, then switch to Uppy. Upgrade the southern stack for a few seconds, then move to the center, and then to the north. Keep an eye on the ogres; if one spawns in the north on the upper platform or in the center, run there immediately and use a Purity Bomb to help out.
With a little practice, you can do it relatively quickly without stacking, with ~50 seconds left on the clock.
Construction order - second Buildphase
- First, build the two remaining Spore Towers: one in the north on top of the statue's head and one in the south
- Second, build a small Spider Wall on the upper platform as shown, far enough away from the crystal so that an ogre can't reach it. Then as many Mage Minions as possible - 7 should be enough, but more is fine too.
Boss Fight
Place DPS and HB on the left and right of the mages at Hint 4 - as long as no more than two green AOE's overlap, the mages can counter-heal, and the boss mechanic can be completely ignored.
Weaknesses
In the first combat phase, this build is still very vulnerable to ogres, especially in the north (hint 4) and the center - keep that in mind!
Notes
- A hero with a good DPS pet can be placed in the north (hint 4) to make it safer.
- Don't forget the 4 Catarangs, each of which grants 150 mana.
- Solo 4 Split Farmable