


Quickly test tower tweaks directly in this build view. Changes are not saved.
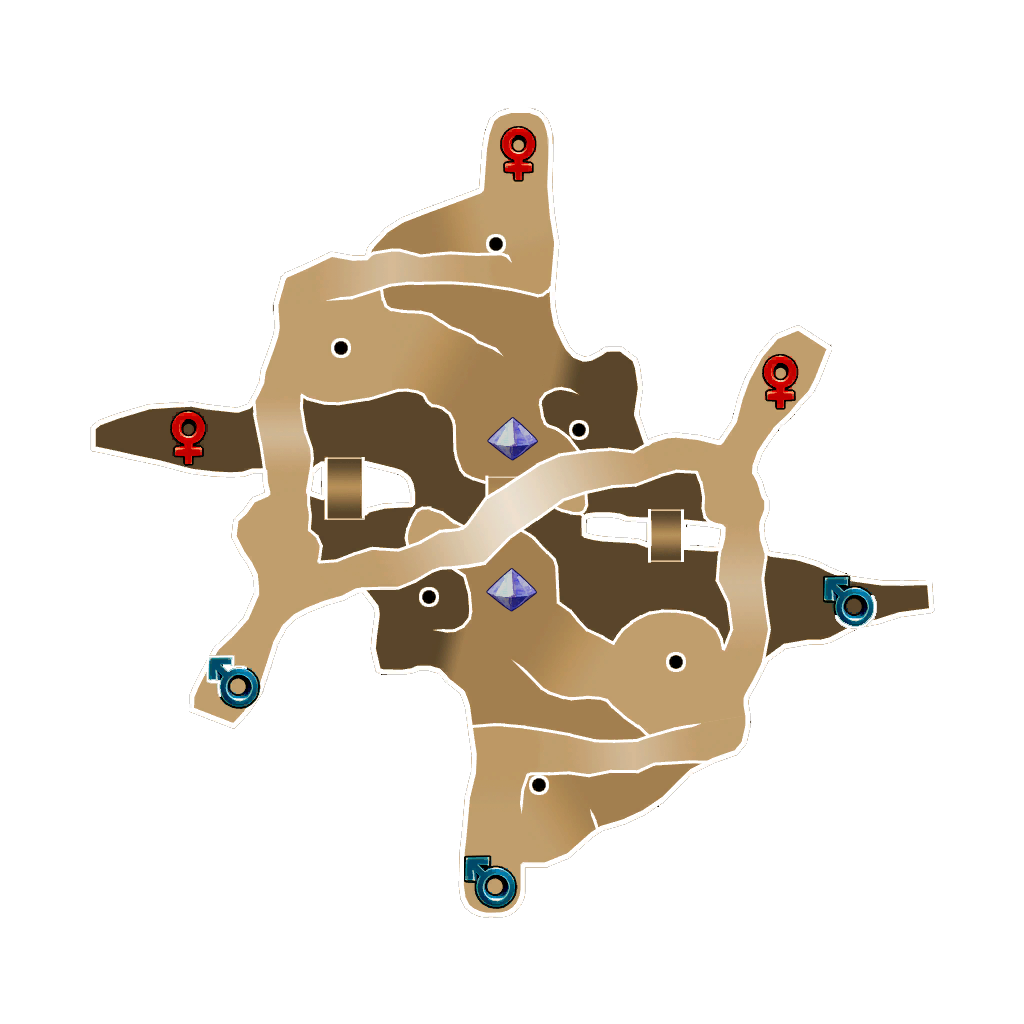
Click on a numbered hint marker on the map to zoom and highlight nearby towers. Double click on map to reset zoom.
No hint selected.
Highlight placed towers (Chrome limitation applies)


| Hero | HP | Damage | Range | Rate |
|---|---|---|---|---|
| Apprentice | 3 | 6 | 3 | 5 |
| Monk | 2 | 2 | 5 | 2 |
| Ev | 4 | 6 | 3 | 3 |
| Hermit | 3 | 6 | 3 | 3 |
Build Status: Public
Difficulty: Any
Game Mode: Campaign
Hardcore: No
Ruthless: No
AFK Able: No
Mana Used: 0
Mana to Upgrade: 0
More Builds from Falcon_311
all auras stacked together beside the crystal where the ensnare is, shown on map for ease of viewing
stack the towers
the golem heals and the pylon gives damage reduction, should make random mech rockets not crush your stack pitifully
no need to flashheal more than once every few waves for the auras and pylon
i use two summons with monk and huntrees guardians
literally never have failed with the build, even when i walk away.
just make sure the hermit towers aren't too visible for the mechs to shoot. they survive but just change the reflects next wave just in case